
One of the best ways to improve your members’ experience is to provide them with membership cards.
Creating these simple ID cards may seem like a fairly straightforward process, but believe it or not, how you design and distribute them can have an impact on your members’ satisfaction and even on your member retention rates!
In this post, we’ll share:
- The benefits of utilizing membership cards for your member-based organization
- The best way to create membership cards – whether you want physical or a digital cards
- Free templates and examples to use for inspiration when designing
What Is a Membership Card?
A membership card is a physical or digital card that proves a member’s membership with your organization. This can look like a variety of things depending on how you create and distribute them.
Physical identification can be:
- Plastic card with member information
- Printed ID card – members can choose to laminate for stability
- Badge with a magnetic stripe to swipe
Digital identification can be:
- Key tag or fob to tap or scan
- QR codes to scan and pull up member information
- Virtual member profile saved online or in an app
It can be used when admitting members into events and to give them access to other member benefits, like discounts from your organization’s partners.
The complexity of your members’ cards is up to you! It should always include their member or ID number as well as the member’s name and organization name. But you can also add more intricate designs with full color printing, photos and logos, technology (like QR codes and magnetic stripes) and even laser engraving.
We’ll go over all the elements to consider when designing your members’ ID cards in the next section.

6 Elements You Should Include on Your Membership Card
What you include on your membership cards will depend on how you and your members use them (for example, a club membership card may be used primarily to check in at meetings, whereas an association’s member card may be used by members to introduce themselves at networking events – similar to business cards). Not every item on the list below is a must-have, but this should give you a good place to start!
- Organization Information: Your organization’s name, logo, address, website and contact info
- Member Information: Member’s name, ID number and photo
- Membership Details: Membership tier or member level, “member since” date and membership expiry date
- Card Usage: How this card can and cannot be used (may differ depending on membership tier)
- Verification: An ID number, scannable barcode/QR code/magnetic stripe that can be used to verify membership and track the use of the card
Why Do I Need a Membership Card Template?
Whether you choose to create physical or digital membership cards, you can save hours of manual work by using membership card templates.
If you have 25 members, it may seem feasible to design each card manually… but what if your membership eventually grows to 100, 200 or 500+ people? (And we hope it does!) What started out as a quick task will quickly become unsustainable.
With templates, you can create an unlimited number of cards with just a few clicks. And if you ever need to update all of your members’ cards with a new logo or a new field, you can do that in a matter of minutes too!
Keep reading to learn how to use WildApricot to create membership cards yourself step-by-step — the entire process only takes about three minutes.
How to Make Membership Cards in 3 Minutes
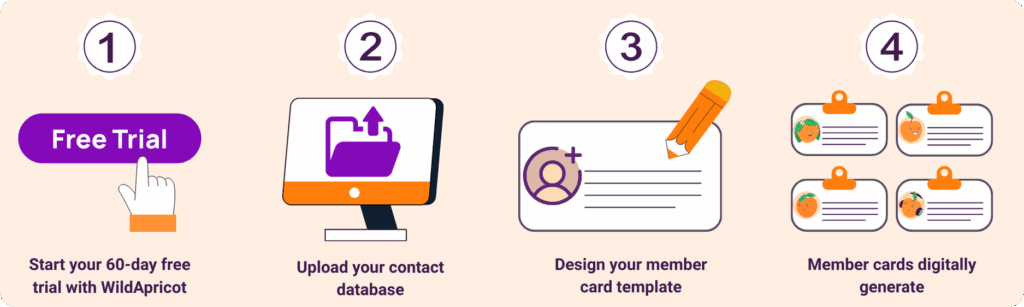
Step 1: Start a Free Trial of WildApricot
WildApricot offers a 60-day free trial, so that you can test out all our software features – from member and event management to financial tracking and reporting.
When you start your free trial, you’ll get to your WildApricot website. This is where your members can log in and find their digital membership cards, accessible on both their WildApricot mobile app or computer. Your members can also choose to print out their ID cards, or your team can print and distribute them at your next meeting.

Step 2: Save Your Contact Database as an Excel File and Upload it to WildApricot
Once you create your WildApricot account, the first step is to upload your contacts to the contact database. This will automatically generate every member’s individual membership card on its own — you won’t need to lift a finger!
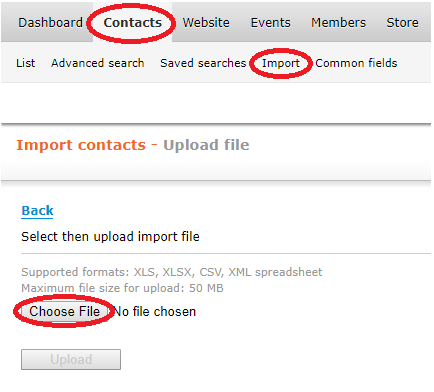
To import your contact database into WildApricot, go to Contacts > Import > Choose File.
Need more help? Read the full article on Importing Your Contacts and Members
Step 3: Customize Your Member Card Template
Once you’ve added all your members, it’s very easy to customize the your membership card design. You choose what information is displayed, if you want to include photos and the template layout.
Simply navigate to Members > Card and click “Start creating a card”.
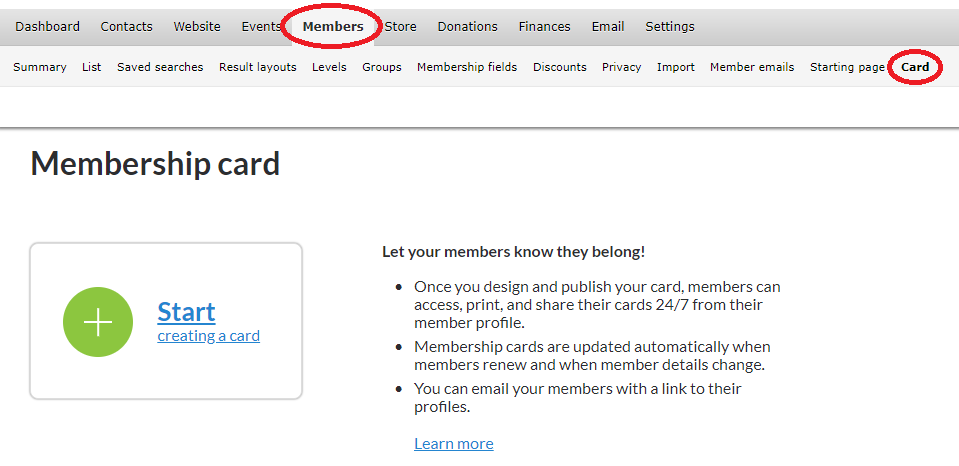
You’ll come to this screen, where you can choose a pre-existing template (recommended if you want to get started quickly), or design a new template yourself.
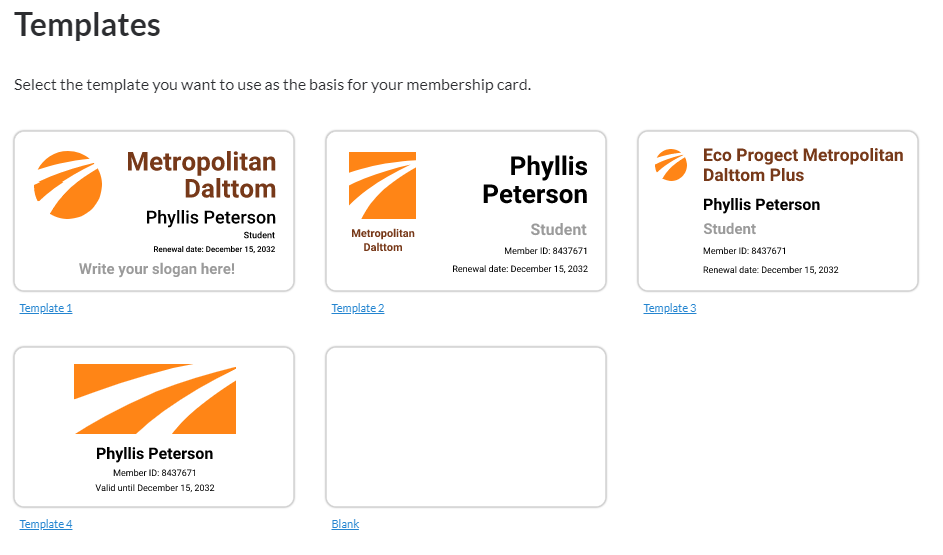
If you pick a pre-existing template, all your members’ details will be automatically filled in. If you choose to create one on your own, you’ll be able to manually add each of the member fields you’d like to include. There’s even a field for members’ photos, which will populate automatically once your members have added them, like in the example below:

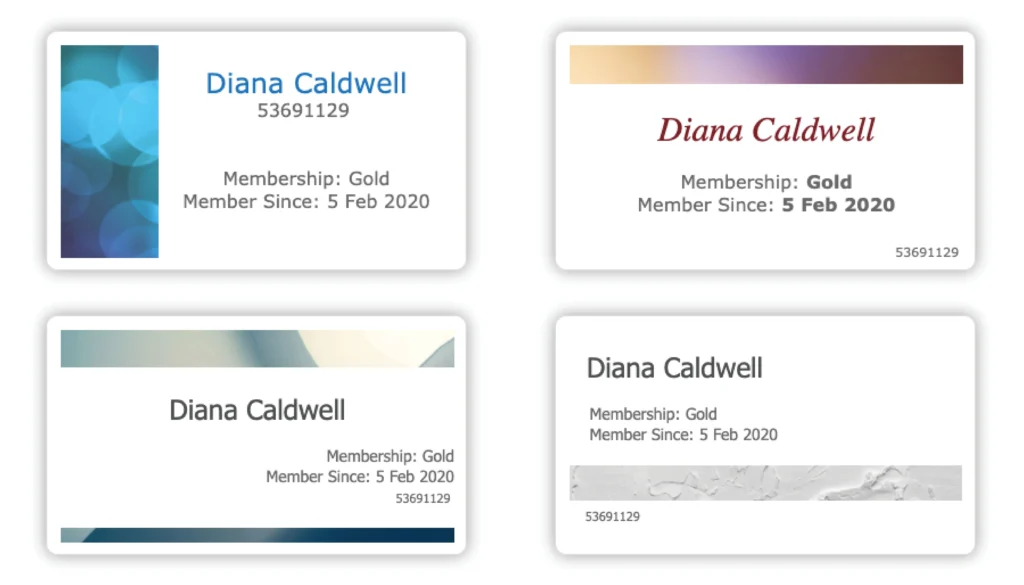
Alternatively, you can get creative and design your own membership card template from scratch! Here are some examples that we’ve created to get you inspired:
Step 4: Ask Your Members to Login to Your WildApricot Website and Access Their Membership Cards in Their Profile Page
Once you’ve completed the above steps, your members’ cards will automatically generate on their own.
To get your membership cards to your members, simply email them a link to your new WildApricot website, and ask them to login with their email address.
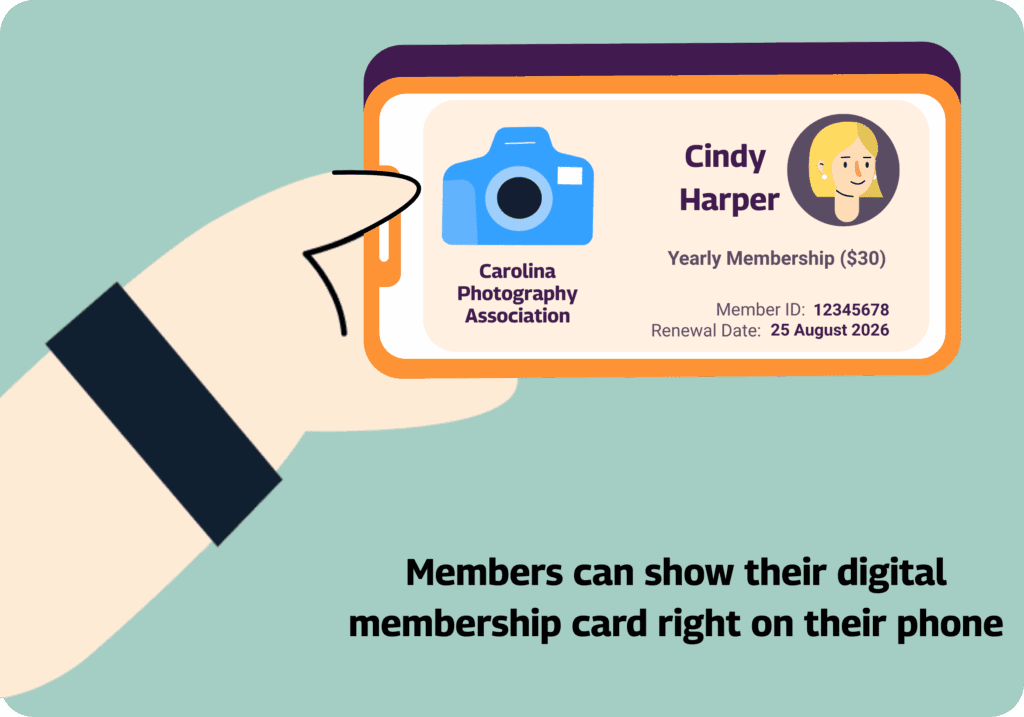
Since it’ll be their first time doing so, ask them to click “forgot password”, which will generate a new password that will be emailed to them. Once they’re all set up with an account, they can login and access their membership cards, which they can display on their phones or print out.
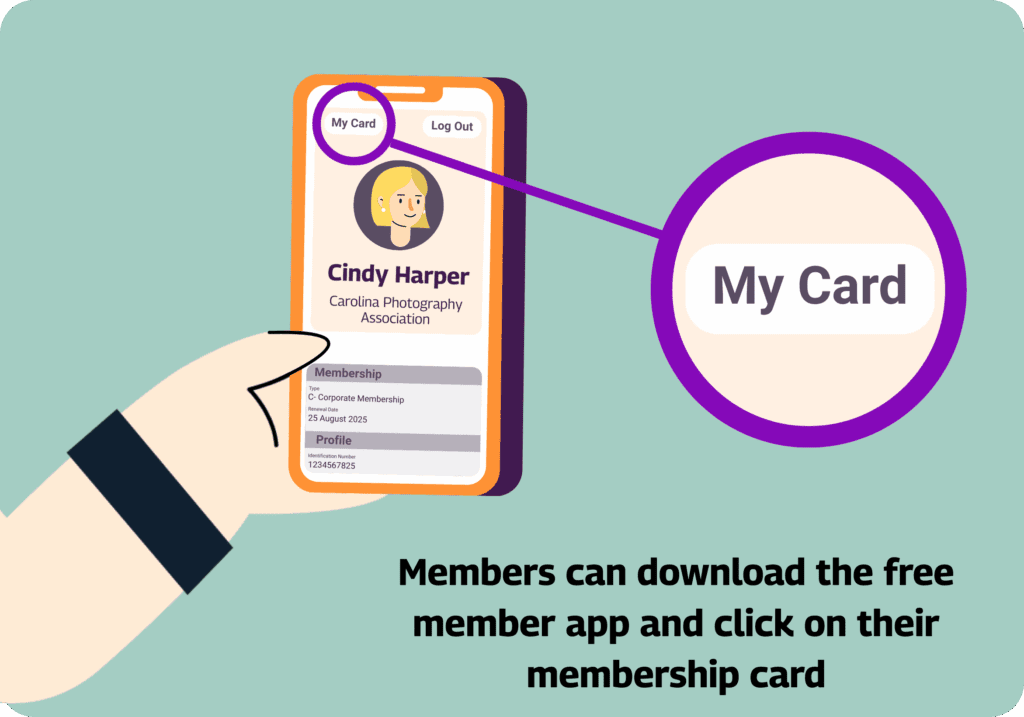
If your members prefer to use digital membership cards, our membership app makes it easy to access them anytime (pro tip: they can also use the app to update their profile, view your full member directory, interact with other members and more!).
Click here for more information about the app, and to download it for free.
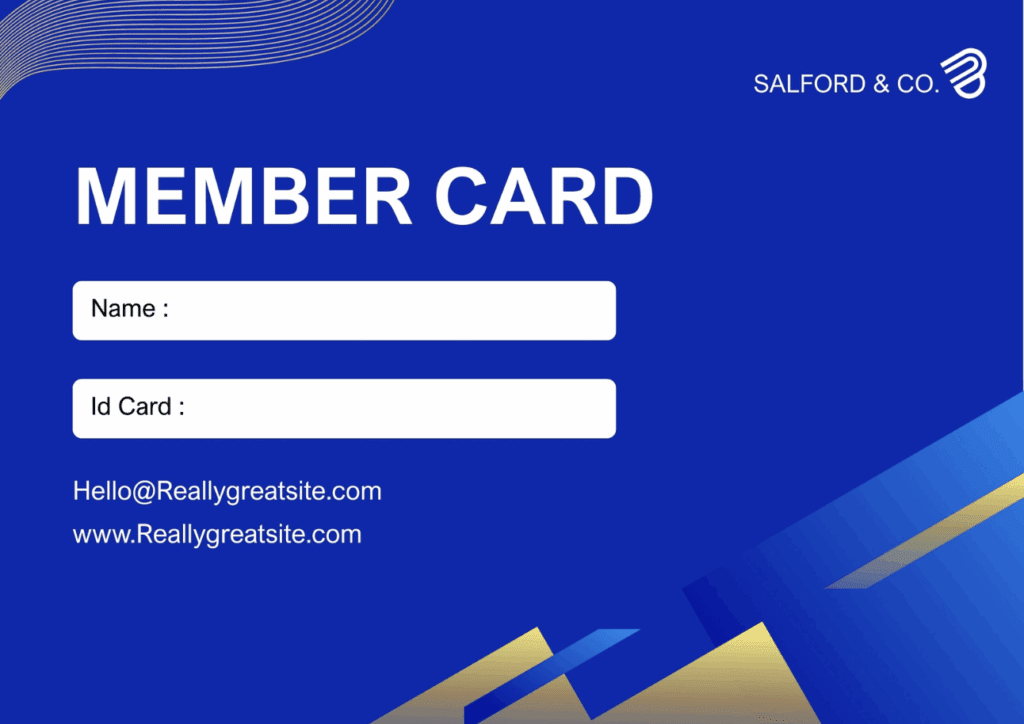
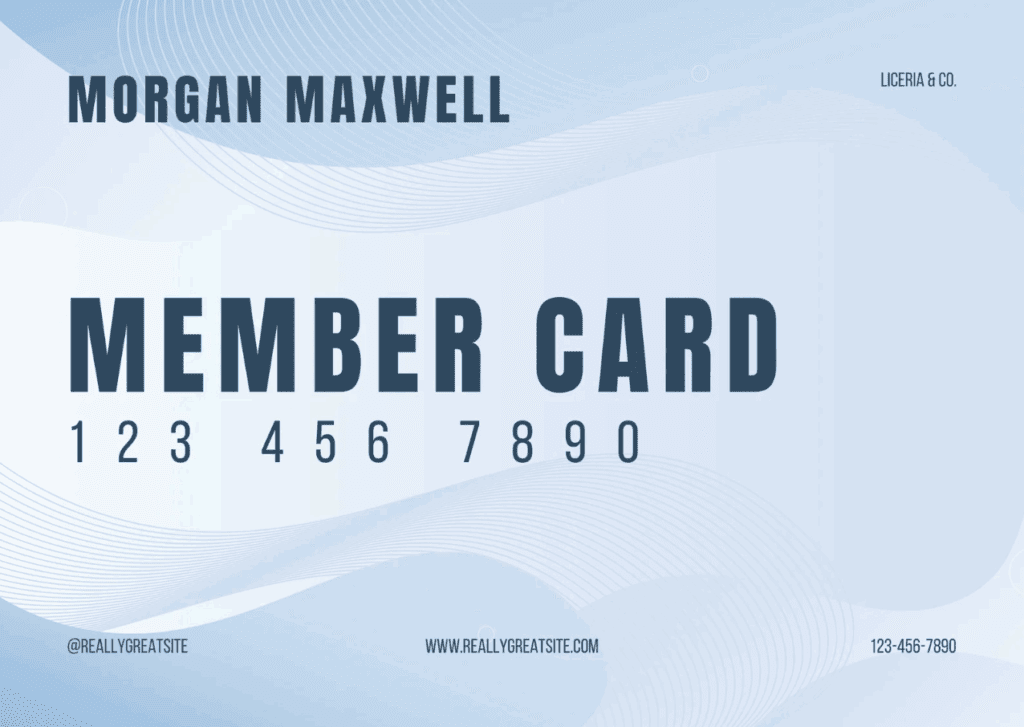
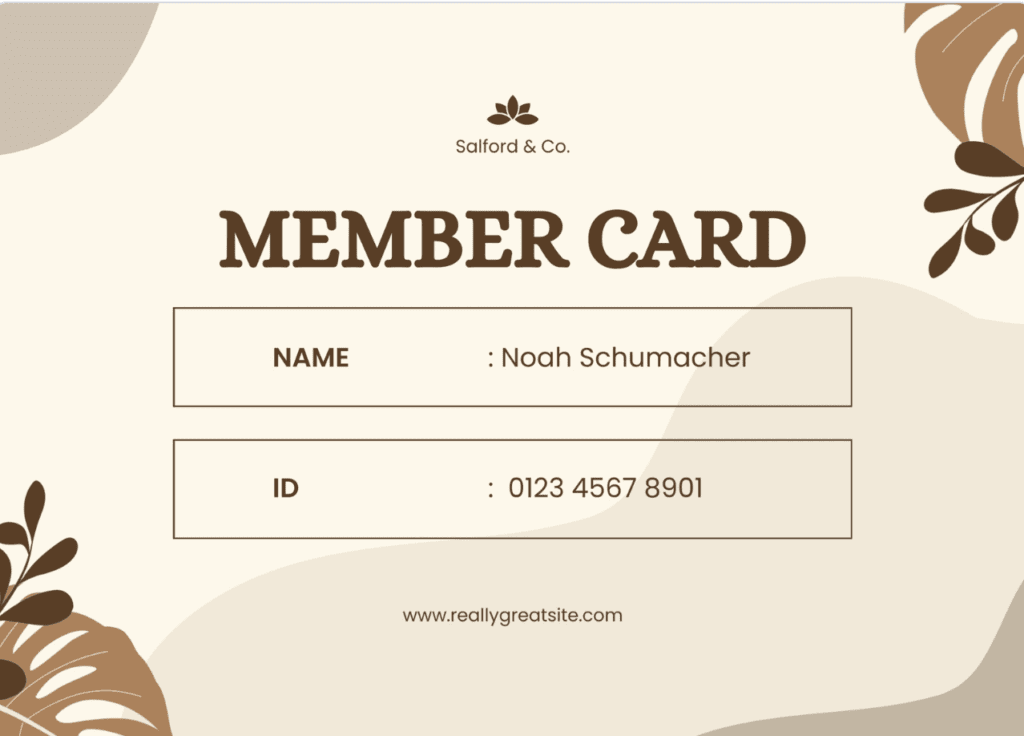
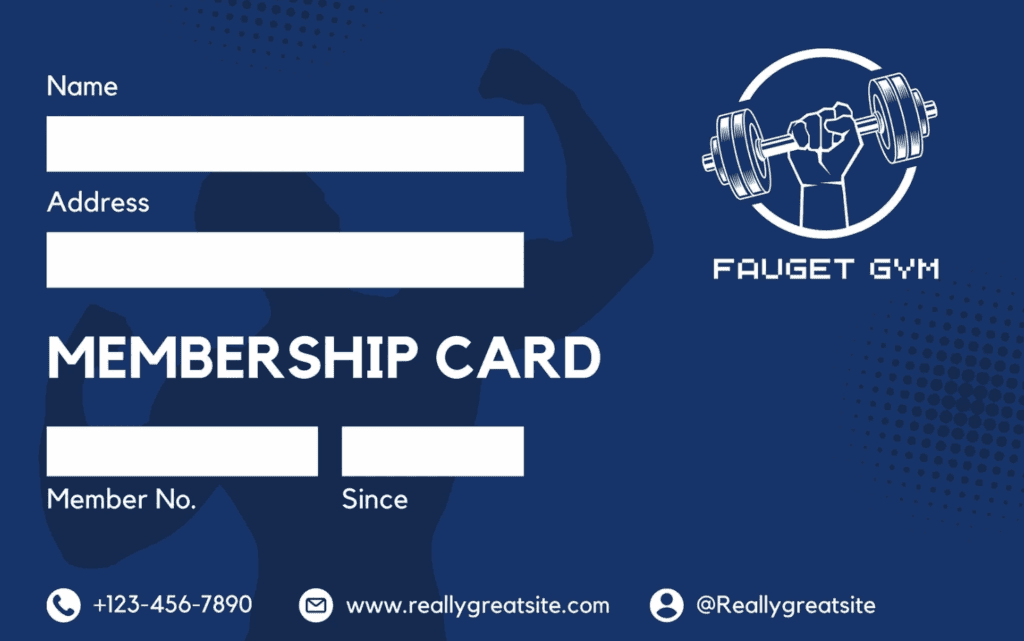
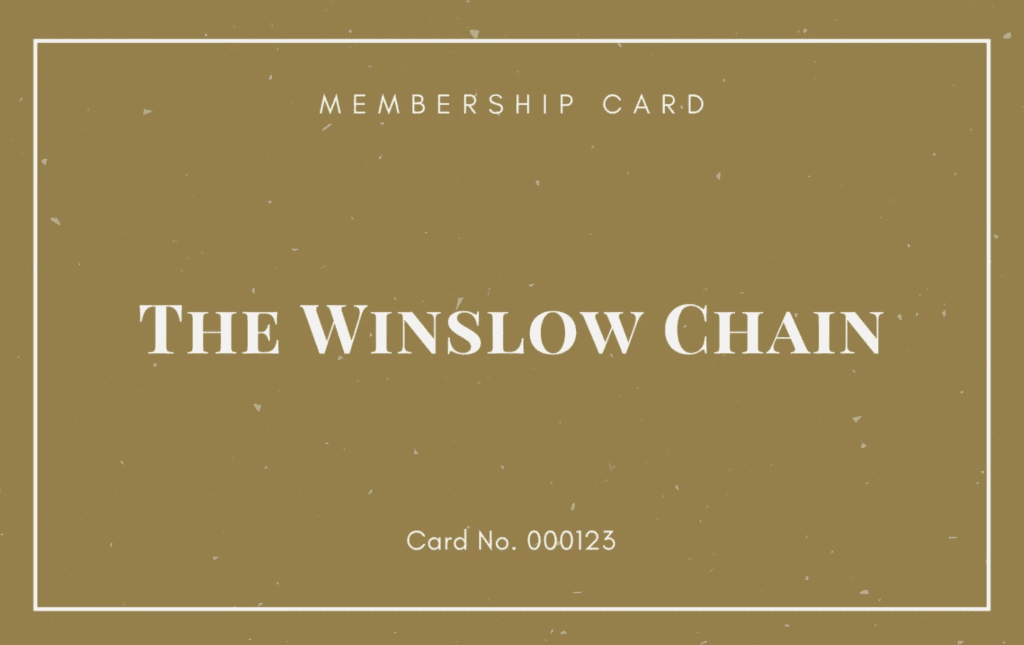
Membership Card Templates and Examples to Get You Inspired
As we said before, you can create your own membership card template in WildApricot. Here are some of our favorite examples from Canva to inspire your own card template creation!


How Can Digital Membership Cards Benefit My Members?
Now that you’ve created your membership cards, it’s time to decide: should you choose physical or digital membership cards?
While membership cards have traditionally been made from paper or plastic, more and more organizations are making the move to digital membership cards. They’re much easier to create, distribute and update, especially as your membership grows. This way you don’t have to worry about printing a new card each time you have a new member!
Not to mention, digital cards are preferred by members because there’s virtually zero chance that they’ll forget their card at home or lose it!
Other ways your team and your members can benefit from digital membership cards, or a mobile member app, include:
- Recognizing membership status through displaying years of membership, membership levels and membership accomplishments
- Celebrating learning credentials, certificates and degrees
- Tracking event registrations, check-ins and session attendance
- Accessing exclusive member benefits and discounts by showing their card at partner organizations
- Sending reminders of renewal dates and giving milestones
- Customizing badges, display tags and more to help connect with other relevant members, job opportunities and content of interest
Beyond Membership Cards: The Benefits of All-in-One Membership Management Software
If you’re a membership organization like a club, association, church, or other nonprofit, WildApricot offers many ways to make your life easier beyond membership cards.
In fact, we’re proud to be the #1 rated Membership Management Software used by over 20,000 organizations across the US!
That’s because WildApricot allows you to fully service your membership organization’s administrative tasks when it comes to areas like:
- Website: create and update your website with little-to-no tech experience.
- Events: easily create and promote fundraisers, events, meetings and courses, with online registration, attendance tracking and payment processing.
- Online Store: sell merchandise like swag, services and even virtual courses.
- Payments: automate membership renewals, registrations and payments with financial tacking and invoicing.
- Member database: maintain detailed member and admin records with our easy-to-search and filter online database.
- Emails and text messaging: send professional newsletter and email communications with built-in templates and drag-and-drop editor.
- Member Login: allow members to login to your website to access exclusive resources, connect with other members and update their profiles (and their membership cards!).
- And much more!

It’s our hope that you’ll give WildApricot a try and see for yourself not only how easy it is to make membership cards, but how it can completely transform most of your other administrative tasks related to membership management.

![The Ultimate Guide to Membership Management Software For Nonprofits [2025 Edition]](https://b2993016.smushcdn.com/2993016/wp-content/uploads/2024/02/Main-Blog-Thumbnails-2025-11-06T180717.949-1024x717.png?lossy=1&strip=1&webp=1)