
Let’s be real: in today’s nonprofit world, having a strong Facebook presence isn’t optional; it’s essential.
According to this NonProfit Tech for Good report, a whopping 96% of nonprofits use Facebook. But if you’re like most nonprofit pros, your time is already stretched thin. That’s why this guide breaks down exactly how much time you need to spend on each step – from setting up your page to creating compelling posts.
Yes, it’s possible to build and maintain an engaged, thriving Facebook community without it taking over your day.
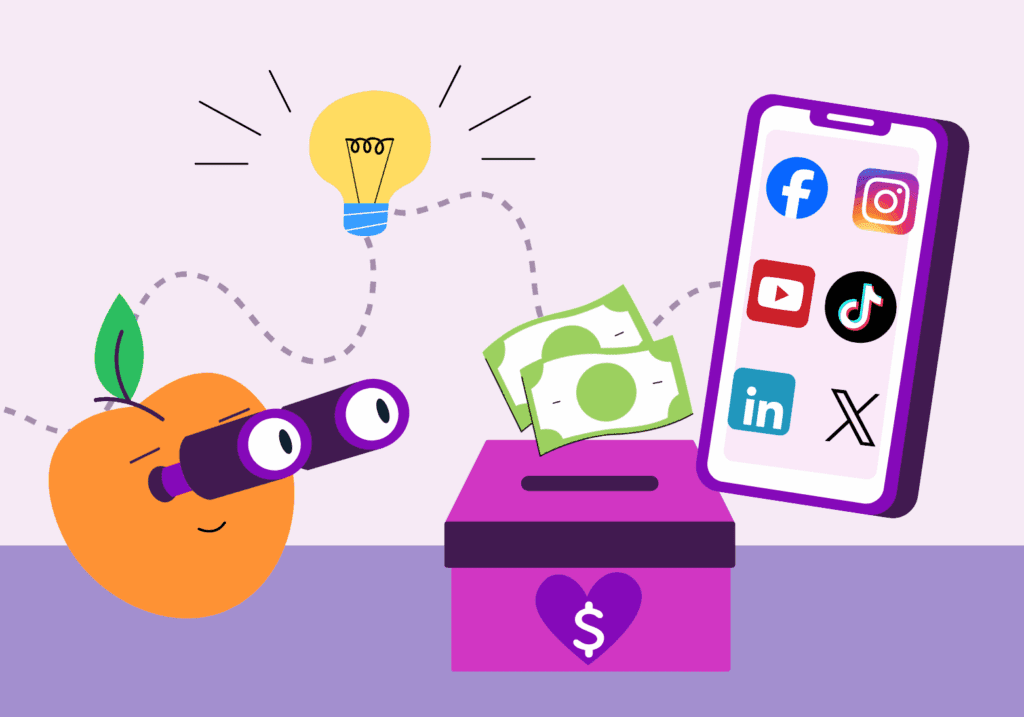
And it’s a valuable use of your time: 48% of social media platform donors give on Facebook. That’s double the impact of Instagram (24%) and other platforms (at less than 10% each).
Whether your nonprofit is aiming to raise awareness locally or nationally, engage volunteers, or boost donations in your city or region, focusing your efforts on Facebook makes strategic sense. And here’s the truth: you’re much more likely to be successful with social media if you start with a strategy. According to Harvard Business Review, having a social media strategy is key.
Plus, don’t forget that your Facebook page is just one piece of your nonprofit’s overall brand. We’ll dive into more of that below, but remember – a consistent, professional brand across your website and Facebook helps supporters recognize you instantly.
In this post, we’ll guide you through these essential Facebook steps, each with a realistic time estimate so you can plan your week effectively:
5 Reasons Your Nonprofit Needs Facebook In 2025
1. Facebook Is Where You’ll Find Your Donors
Approximately 48% of donors on social media give on Facebook – more than any other platform. Focusing here maximizes your fundraising potential.
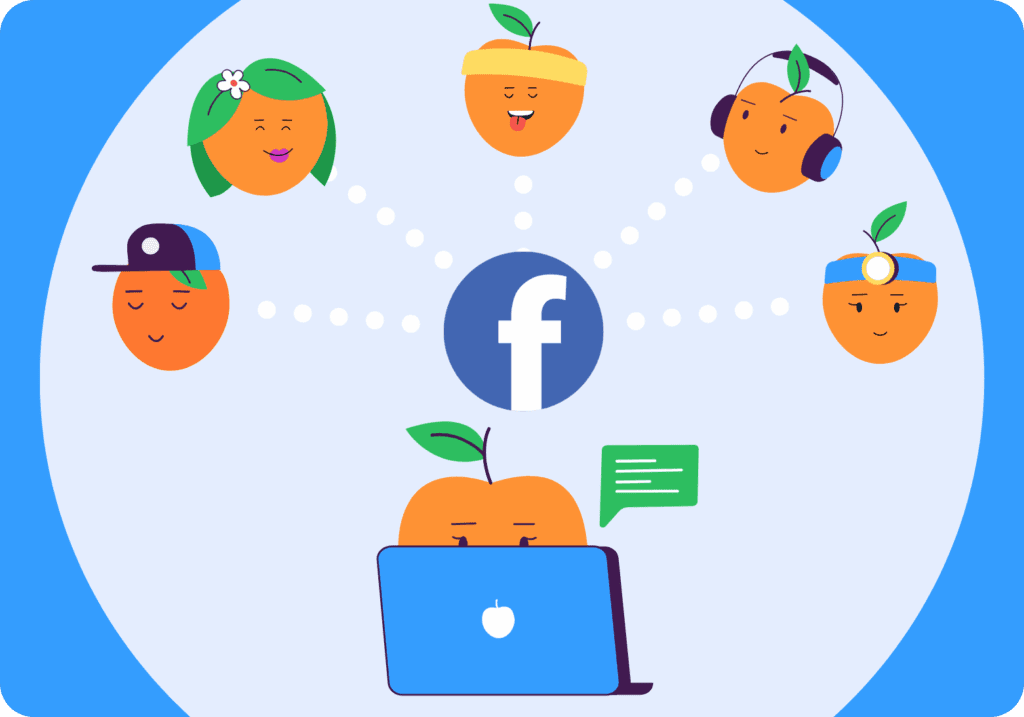
2. It’s a Hub for Local Community Engagement
Whether you’re looking to recruit volunteers or raise awareness for local causes, Facebook groups and events connect you directly with your community.
3. Built-In Fundraising Tools
Facebook offers integrated fundraising features, making it easier than ever to collect donations without redirecting donors to another site.
4. Rich Storytelling Opportunities
With photos, videos and live streaming, you can show the impact of your work in real-time, building trust and emotional connection.
5. Cost-Effective Advertising Options
Facebook Ads allow you to target specific audiences by location, interests and more, even with a modest budget. This Facebook help article for nonprofits shows you exactly how to get started with Facebook and Instagram ads to increase awareness of your organization and raise funds for your cause.
⏰ The 10 Essential Facebook Steps for Your Nonprofit (and How Much of Your Time It Will Take)
1. Set Up Your Nonprofit Facebook Page (⏰ 1 Hour)
Your Facebook Page is often the first impression people get of your organization, so make it count! A well-crafted page can build credibility, attract new supporters, and reinforce your brand identity across all platforms.
Here’s what to include:
- Page Name: Use the full name of your organization so you’re easy to find.
- Category: Select “Nonprofit Organization” to help Facebook recommend your page to the right audience.
- Profile Photo: A logo is standard, but if you want a more personal touch, consider a photo that reflects your mission (e.g., animals, community faces or volunteers in action).
- Cover Photo: Use a high-quality image (851 x 315 pixels) that visually represents your work. Avoid text-heavy designs – let the image speak for itself.
- About Section: Write a compelling summary of your mission, what you do, and how people can get involved. Include your website, email and donation link.
- Call-to-Action Button: Choose something impactful, like “Donate,” “Sign Up” or “Learn More” to drive meaningful engagement.
✅ Sunny Tip: Keep your branding consistent across your website and Facebook to build trust and recognition. Get nonprofit branding tips here.
Read more: Write the BEST Nonprofit Mission Statement: 15 Examples + Free Template
2. Develop a Facebook Posting Strategy (⏰ 2 Hours)
Plan what you want to share (i.e., stories, event updates, volunteer spotlights, donation appeals etc.) and decide how often to post. Consistency is key.
If you have the budget for it, consider a social media scheduling tool. Dedicate an afternoon to setting up your entire posting schedule for the month; that way, you’ll never miss a post!
3. Use Facebook Live During Events (🎉 No Extra Time)
Never done a Facebook Live before? It’s not as stressful as you might think! Save this Primal Video YouTube tutorial to learn exactly how to do your first live video event – from using your camera/microphone, creating custom lists, to what to say when you’re actually live on camera (gulp!).
Facebook Live Streaming (2025) – How To Go Live On Facebook Like A PRO!
Remember: Facebook Live is a free, high-impact way to stream fundraising events, volunteer days or program highlights live. It’s authentic, engaging and helps widen your reach.
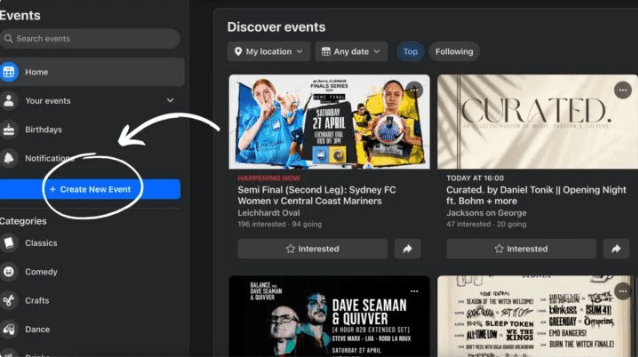
4. Create Facebook Events (⏰ 15 Minutes)
Use the events feature to promote fundraisers, community meetings or special programs. Invite followers and encourage sharing. Be sure to share any upcoming events on your website and in your newsletter as well. Utilize every available marketing avenue to reach all your supporters.
5. Engage Your Community Regularly (🗓️ 30 Minutes per Week)
Reply to comments, thank donors publicly and join conversations in relevant Facebook groups. Set a weekly reminder on your calendar to hold you accountable and ensure it’s a part of your marketing maintenance.
6. Share Impact Stories and Testimonials (🗓️ 1 Hour per Week)
Show how donations and volunteers are making a difference. Visuals and personal stories resonate most. If you have the tools (and the editing skills), create videos of your nonprofit’s impact. Go behind the scenes on a volunteer shift, share the testimony of a community member you recently impacted or ask your members to send in their own videos with their experience.
Read more: How to Create a Member Spotlight (+ Sample Questions and Examples)
7. Utilize Facebook Fundraisers (⌚️ 3 Minutes to Enable)
Set up a Facebook fundraiser and encourage your supporters to do the same. If you’re already writing impact stories and testimonials (as in Step 6 above), make good use of your content in reels or stories to boost results:
- Reels: Use vertical video with sound on. Keep it short, relatable, and entertaining.
- Stories: Make the first frame pop and move quickly. Use native stickers, such as the donation sticker, to drive action.
8. Experiment with Facebook Ads (⏰ 1 Hour)
Create targeted ads to boost event attendance or donation campaigns. Start small, analyze the results and adjust accordingly. The tools you can use are constantly changing – including the use of AI and machine learning ad models – so stay up-to-date on the latest advertising best practices and how to leverage them across formats.
9. Monitor and Analyze Your Page Insights (🗓️ 30 Minutes per Week)
It’s important to review your Facebook Page Insights. You only need about 30 minutes each week to regularly monitor insights. This way, you can see which posts get the most engagement. Once you know, use that data to refine your content strategy (across FB and your blog – more on that content strategy below!).
10. Collaborate with Influencers or Partners (🤷 Time May Vary)
You don’t have to grow your Facebook presence alone. Collaborating with like-minded organizations, community leaders or even local micro-influencers can help you expand your reach and credibility faster than going solo.
🔗 Here’s how to make it work:
- Identify natural partners: Think of nonprofits with a complementary mission, local businesses that support your cause or community leaders who share your values.
- Run joint campaigns: Co-host a Facebook Live, launch a shared awareness week or team up on a fundraiser. It’s a win-win for both parties.
- Cross-promote content: Share each other’s posts, tag partners in your content and celebrate their wins – it encourages reciprocal visibility.
Why Facebook Is a Vital Extension of Your Nonprofit Website and Brand Story
Your nonprofit’s website is your digital home base. It’s where visitors learn about your mission, programs, and impact. But today, a website alone isn’t enough to fully engage supporters or tell your story. Facebook acts as a powerful extension of your website and brand, amplifying your message and bringing your story to life in real time.
To maximize impact, curate content thoughtfully across both platforms:
- Blog updates: Share news about programs, volunteer opportunities and fundraising milestones on your website, then promote these posts on Facebook to drive traffic and deepen engagement.
- Educational resources: Host staff and volunteer training materials on your site, while Facebook groups foster ongoing conversations and peer support.
- Impact stories: Utilize your website for detailed reports and testimonials, and leverage Facebook to share compelling photos, videos, and live updates that foster emotional connections.
- Membership benefits: Outline the perks on your site and then establish a community on Facebook where members can interact and share ideas.
Consistency is key. Both platforms should offer connected, complementary experiences that move supporters from awareness to action.
Your nonprofit’s brand – your mission, values, and personality – is central. Your website showcases your:
- Logo and slogan
- Color palette and typography
- Imagery and visual style
These elements should be reflected on your Facebook page and posts to build recognition and trust. Use brand colors and fonts in graphics, share videos that reflect your spirit, and maintain an authentic voice across all communications.
Together, your website and Facebook are two sides of the same coin:
- Your website provides depth and resources
- Facebook offers immediacy, interaction, and social proof
When aligned, they create a powerful narrative that builds awareness, deepens relationships, and inspires action.
Read more: Mission to Messaging: The 2025 Nonprofit Branding Playbook
Final Thoughts
Focusing your nonprofit’s social media efforts on Facebook – where the majority of donors are active – saves you time and boosts your impact. By allocating just a few hours a week using the steps above, you’ll build a meaningful presence without burnout.
Remember, nonprofit social media success starts with a clear strategy. If you’re ready to take your nonprofit’s social media and overall online presence to the next level, start here, plan your time wisely, and watch your community grow.
Ready to Grow Your Nonprofit’s Reach?
Want more resources to streamline your nonprofit’s online presence and donor management? Start by registering for WildApricot’s 60-day free trial – and learn how to save time and boost donations with our all-in one membership management software.
Discover what WildApricot can do for your mission with features like:
- Membership database: store your member data all in one place, safely in the cloud
- Event management: grow your donor base and boost fundraising efforts
- Website builder: create your nonprofit website with easy-to-use templates
- eCommerce: build an online store and create non-dues revenue seamlessly
- Integrations: connect existing websites and social media accounts, build marketing workflows and manage your members